Migrating a WordPress website from one host to another can feel like a risky job. One wrong move and you end up with a broken site, missing files, or a database that refuses to connect. WPvivid makes the entire process manageable by handling the backup, transfer, and restore in a structured workflow — without touching a single line of code.
This guide walks you through the complete migration process using WPvivid, from installation on both sites to the final checks after restore.
What Is WPvivid Plugin?
WPvivid is a free WordPress backup and migration plugin. It lets you create a full backup of your site — files, database, themes, plugins, uploads — and either send that backup to a remote storage destination or download it manually. On the destination site, you restore that backup and your site is live on the new host.
Why Use WPvivid for Migration
- Free to use with no file size restrictions on manual transfers
- Supports direct site-to-site migration via a transfer key
- Works with all major hosting providers
- No FTP or phpMyAdmin access required
- Handles both files and database in a single package
- Beginner-friendly interface inside the WordPress dashboard
What You Need Before You Start
Before beginning the migration, make sure the following are in place:
- Source site — your current live WordPress website
- Destination site — a fresh WordPress installation on the new host
- Admin access on both sites
- PHP version compatibility — both sites should run PHP 7.4 or higher
- Sufficient disk space on the destination host to receive the backup
- WPvivid plugin installed and activated on both sites
Step 1 — Install WPvivid on the Source Site
Installing from WordPress Dashboard
- Log in to your WordPress admin panel on the source site
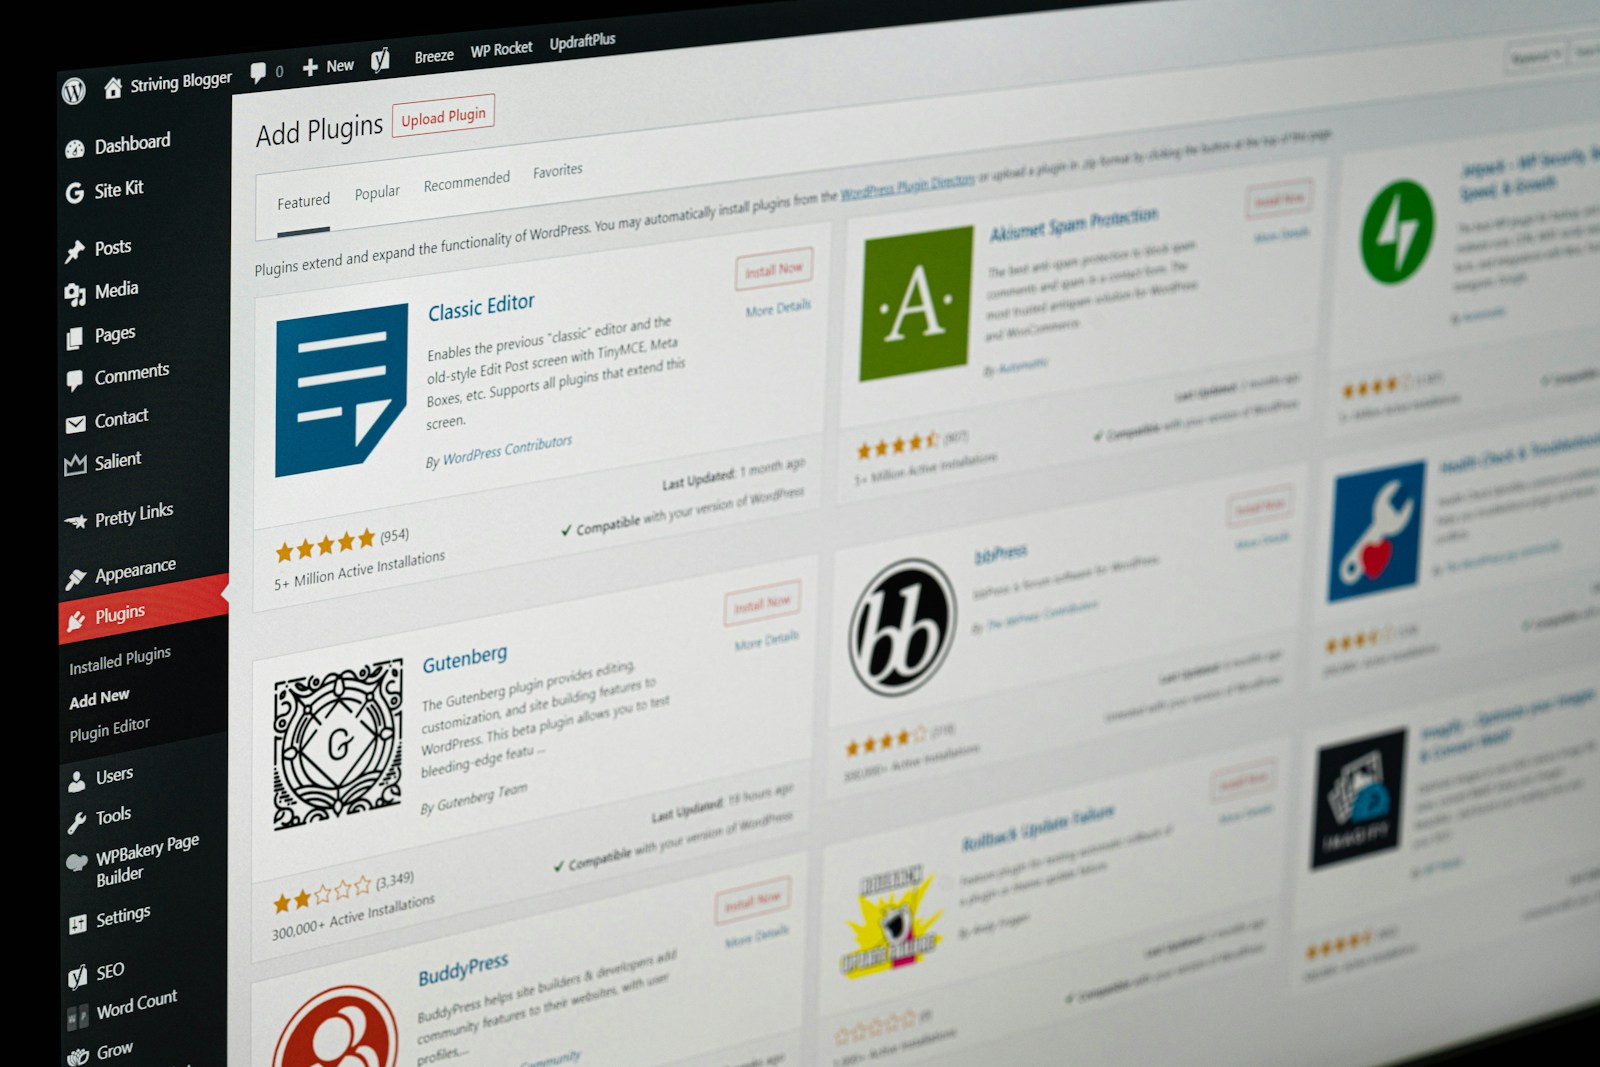
- Go to Plugins and click Add New
- Search for WPvivid Backup Plugin in the search bar
- Click Install Now on the WPvivid result, then click Activate
- After activation, WPvivid will appear in your left sidebar menu
Verify the Installation
Once activated, click WPvivid Backup in the sidebar. You should see the main dashboard with tabs for Backup & Restore, Migration, Remote Storage, and Settings. If all tabs load correctly, the plugin is working.
Step 2 — Install WPvivid on the Destination Site
Repeat the exact same installation process on your destination site — the new WordPress installation on your new host.
What the Destination Site Should Look Like
- A clean WordPress installation with no existing content
- Same or newer PHP version as the source site
- No conflicting plugins activated
- Admin credentials ready for login
Do not install any themes or plugins manually on the destination site before migration. WPvivid will transfer everything from the source.
Step 3 — Get the Migration Key from the Destination Site
This step is what makes WPvivid’s direct migration feature work. The destination site generates a key and the source site uses that key to push the backup directly.
How to Get the Migration Key
- Log in to the WordPress admin on the destination site
- Click WPvivid Backup in the sidebar
- Click the Migration tab at the top
- You will see a box labelled Receive a Migration from Another WordPress Site
- Click the Generate button
- A unique migration key will appear — copy it and keep it ready
This key expires after use, so generate a fresh one each time you perform a migration.
Step 4 — Create a Backup on the Source Site
Before pushing anything to the destination, you need to create a complete backup of the source site.
How to Create the Backup
- Log in to the WordPress admin on the source site
- Click WPvivid Backup in the sidebar
- Go to the Backup & Restore tab
- Under Backup Settings, make sure the backup includes:
- Files
- Database
- Themes
- Plugins
- Uploads
- Set the storage to Local to save the backup on the server first
- Click Backup Now
Backup Progress
WPvivid will show a real-time progress bar. Backup time depends on your site size. A standard site under 1GB typically completes in a few minutes. Larger sites with heavy media libraries will take longer. Do not close the browser tab while the backup is running.
Once complete, the backup appears in the backup list at the bottom of the Backup & Restore tab with a timestamp.
Step 5 — Send the Backup to the Destination Site
Now that the backup is ready, you will push it directly from the source site to the destination using the migration key.
How to Send via Migration Key
- Stay on the source site admin panel
- Click the Migration tab in WPvivid
- Find the section labelled Migrate to Another WordPress Site
- Paste the migration key you copied from the destination site into the input field
- Click Send to verify the connection
- WPvivid will confirm the connection to the destination site
- Select the backup you just created from the backup list below
- Click Migrate
What Happens During Transfer
WPvivid will begin transferring your full backup package — files and database — directly to the destination site over a secure connection. A progress indicator will display the transfer status. Do not interrupt the process.
Transfer time depends on:
- Total site size
- Speed of the source hosting server
- Network conditions between both servers
For sites above 2GB, allow 15 to 30 minutes or more.
Step 6 — Restore the Backup on the Destination Site
Once the transfer is complete, the backup will appear in the destination site’s WPvivid dashboard waiting to be restored.
How to Restore
- Log in to the destination site admin panel
- Go to WPvivid Backup and click the Backup & Restore tab
- Scroll down to the backup list — the transferred backup should appear here
- Click Restore next to the backup
- WPvivid will ask you to confirm — click Yes, Restore
- The restore process will begin
What Happens During Restore
WPvivid will:
- Unpack the backup files
- Replace the destination site’s WordPress files with the source site’s files
- Import the source database, overwriting the destination database
- Apply the source site’s settings, theme, plugins, and content
Once the restore finishes, WPvivid will automatically log you out of the current session. This is normal — it means the restore completed and the destination site now runs the source site’s database, including its user accounts.
Step 7 — Log In to the Destination Site After Restore
After restore, log in using the source site’s admin credentials — not the destination site’s original credentials. Since the database was replaced, the destination site now uses the same usernames and passwords as the source.
- Go to yournewdomain.com/wp-admin
- Enter the source site’s admin username and password
- You should now see the full migrated site in the dashboard
Step 8 — Update the URL and Search-Replace (If Changing Domain)
If you are migrating to a different domain — not just a different host — you need to update all URL references in the database. WPvivid handles basic URL replacement during restore if you configure it before restoring.
How to Set URL Replacement in WPvivid
- Before clicking Restore on the destination site, look for the option labelled Search and Replace
- Enter the old domain in the Old URL field — for example https://oldsite.com
- Enter the new domain in the New URL field — for example https://newsite.com
- Check the box to enable URL replacement
- Then proceed with the restore
This replaces all instances of the old domain in the database — post content, widget settings, theme options, and serialized data — with the new domain automatically.
Step 9 — Run Post-Migration Checks
After restore, run through these checks before pointing your domain DNS to the new host or going live:
Site Health Checks
- Homepage — Does it load correctly with the right theme and layout?
- Posts and pages — Are all posts, pages, and custom post types present?
- Images — Do all images load properly across posts and pages?
- Menus — Are navigation menus intact and linking to the right pages?
- Plugins — Are all plugins active and functioning?
- Forms — Do contact forms or WooCommerce checkout flows work?
- User accounts — Are all admin, editor, and subscriber accounts present?
- Permalink structure — Go to Settings, then Permalinks, and click Save Changes to flush rewrite rules
- SSL certificate — Make sure HTTPS is active on the new host
WooCommerce Specific Checks (if applicable)
- Product listings and categories intact
- Payment gateways reconnected with live keys
- Shipping zones correct
- Order history present
Step 10 — Point Your Domain to the New Host
Once all checks pass, update your domain’s DNS settings to point to the new host.
General DNS Update Process
- Log in to your domain registrar — GoDaddy, Namecheap, Cloudflare, or wherever your domain is registered
- Go to DNS settings for your domain
- Update the A record to point to your new host’s server IP address
- Alternatively, update the nameservers to your new host’s nameservers if the host requires it
- Save the changes
DNS propagation typically takes between 24 to 48 hours globally, though many users see the change within a few hours.
Alternative Method — Manual Backup and Upload
If the direct key-based migration fails due to server restrictions, firewall rules, or timeout issues on large sites, WPvivid offers a manual alternative.
Manual Migration Steps
- Create the backup on the source site as described in Step 4
- Download the backup files to your local computer from the Backup & Restore tab
- Log in to the destination site’s WPvivid dashboard
- Go to Backup & Restore and find the Upload option
- Upload the downloaded backup files from your computer
- Once uploaded, proceed with the restore as described in Step 6
This method is slower but reliable for large sites or restrictive hosting environments.
Common Issues and Fixes
Restore Gets Stuck or Times Out
- Increase PHP max execution time in your hosting settings or php.ini
- Contact your new host to raise memory limits temporarily
- Try the manual upload method instead of direct transfer
Images Not Loading After Migration
- Go to Tools and click Regenerate Thumbnails or use a plugin like Regenerate Thumbnails
- Check that the uploads folder transferred correctly under wp-content/uploads
White Screen After Restore
- Deactivate all plugins via FTP or cPanel File Manager by renaming the plugins folder
- Reactivate plugins one by one to identify the conflict
Database Connection Error
- Confirm that wp-config.php on the destination site has the correct database name, username, and password for the new host
- WPvivid should handle this automatically, but some hosts require manual wp-config.php edits
Cannot Log In After Restore
- Use the source site admin credentials, not the destination site’s original credentials
- If locked out, reset the password via phpMyAdmin or the hosting control panel
WPvivid Free vs Pro — What Is the Difference
Free Version Includes
- Full site backup (files and database)
- Direct site-to-site migration
- Manual upload and restore
- Scheduled backups
- Basic remote storage (Google Drive, Dropbox, Amazon S3)
Pro Version Adds
- Incremental backups for large sites
- Multisite migration support
- White label options
- Priority support
- Advanced staging features
- More remote storage destinations
For most standard migrations, the free version is fully sufficient.
Final Thoughts
WPvivid simplifies WordPress migration into a process that any site owner can follow without server-level access or technical background. The migration key feature eliminates the need to manually transfer files, and the built-in URL replacement handles domain changes cleanly.
Follow each step in order, run your post-migration checks thoroughly before going live, and keep the backup files until you are confident the new site is stable. Migration done right means zero downtime and no data loss.
Need a Professional WordPress Website?
Fixing errors is one thing — but if you are looking to build a professional WordPress website for your business from the ground up, working with an experienced developer saves you time, money, and a lot of headaches. Rifat Newaz specializes in website build services tailored to make your brand stand out and grow online.
You can explore his work and get in touch through the links below:
- Behance: behance.net/rifat_newaz1998
- Fiverr: fiverr.com/s/yvDrPj5
- LinkedIn: linkedin.com/in/rifat-newaz1998
Let’s make WordPress work for you!